“Somewhere under a lost and lonely hill of grim and foreboding aspect lies a labyrinthine crypt. It is filled with terrible traps and not a few strange and ferocious monsters to slay the unwary.”
Should a party of brave adventurers make their way to that lost and lonely hill, carefully excavate the earth to discover two false entrances guarded by deadly traps, finally uncover the true entrance and make their way inside, they would find themselves inside one of the most famous dungeons in the history of D&D — a nightmarish maze of traps that few have entered and lived to tell the tale, the lair of the demilich Acererak himself: the Tomb of Horrors.
Welcome to our guide to the Tomb of Horrors.
If you’re a dungeon master who’s thinking about running this classic adventure, we’ve broken down some of the contents of the dungeon here as well as some tips for how to run it successfully (aka in a way that won’t frustrate, irritate, and potentially disband your gaming group).
What Is the Tomb of Horrors?
First written in 1975, S1 Tomb of Horrors was the first official tournament module for OD&D.
Written by Gary Gygax himself, the adventure reputedly sprang from his home game and was specifically designed to challenge his “expert” players.
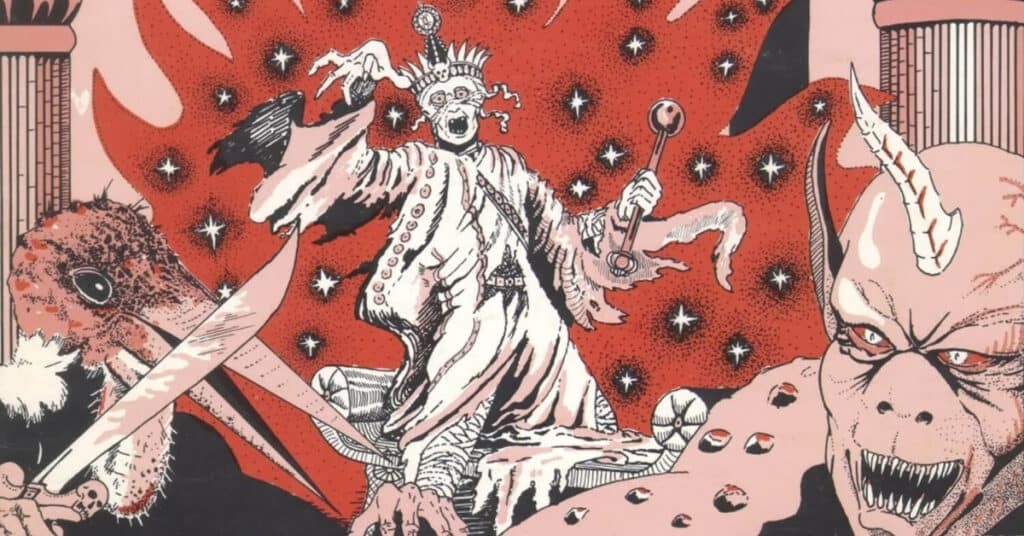
It was officially published in 1978 as a 36 page booklet containing a pull-out section featuring 31 black and white illustrations by Donald Sutherland and Doug Trampier (who also painted the iconic demon idol cover art from the 1e D&D Player’s Handbook) and as an updated version in 1981.
The adventure itself is an adventure for characters level 10-14 (which meant ultra high-level back in the 1970s), although the fact that most of the hazards found within the tomb of horrors will instantly kill you no matter what level you are kind of makes this irrelevant — especially since the original works so hard to defang high-level magic users by specifically stating a bunch of different spells won’t work within the tomb.
In the decades since, the Tomb of Horrors has grown in popularity (not to mention notoriety) and has been adapted in one way or another for every edition of the game.
Most recently, it was included in the 5e anthology adventure series Tales from the Yawning Portal where it appears virtually unchanged compared to the 1981 version and served as the inspiration for Tomb of Annihilation, another Acererak-centric adventure published around the same time.
Tomb of Horrors has a well-earned reputation for being a fiendishly difficult (verging on cruel), frustrating module that takes a much more adversarial approach to the Player-DM relationship than other adventures.
It delights in “gotcha” moments that punish all but the most painfully meticulous adventurers, subverts every possible attempt to discover patterns within its densely packed hallways full of death traps, and has no fewer than three false endings.
We’ll get into everything the tomb itself contains in a moment, but first it’s important to ask…
Should I Run Tomb of Horrors?
If you were scrolling through a big list of “classic old school D&D adventures” and found this one at the top, let me assure you that the article you read was either written by a liar, a moron, or a masochist.
At the very least, it was written by someone whose dungeon master made some radical readjustments to the adventure before putting it in front of their players.
Look, if you want to run an adventure that gives your players a taste of what it was like to play D&D in the 80s, this module is not for you.
Go check out the Keep on the Borderlands, Against the Cult of the Reptile God, the original Ravenloft, The Sinister Secret of Saltmarsh, or Tomb of the Lizard King.
They’re all great examples of old school adventuring that won’t drive you and your players to tears because, and I cannot stress this enough, Tomb of Horrors is a nightmare.
It’s not bad, per se, but it’s trying to do something very different than your average adventure.
It’s not trying to provide you with an evening of beer and pretzels entertainment, or an interesting story, or even a particularly scary or horrifying experience.
Tomb of Horrors exists to frustrate, kill, confound, and above all challenge the players.
It was designed by Gary Gygax as a way to challenge the most experienced players (including his own son, who turned into a festering pile of awful transphobic opinions and boomer brain, so I guess beware of the long-term health implications of this adventure?) at his own gaming table.
You know that weird notion that some people have about a dungeon master cackling behind the screen as player characters die — an omnipotent god who gets their rocks off by hunting player characters for sport?
This is the adventure that comes from.
But I’m not sure that subsequent decades worth of posts on r/rpghorrorstories is really the module (or Gary’s) fault.
It’s the genesis of a tradition of so-called “fun house” dungeons — wild, illogical death traps designed to chew through player characters like Ernie Gygax chews through the industry credibility he inherited from his late father.
In essence, they’re logic puzzles wrapped up in a thick layer of arbitrary cruelty.
Personally, I don’t think I’d have any fun running or playing Tomb of Horrors in any edition, and I love old-school D&D.
This adventure, however, is basically the antithesis of all the reasons I like old-school play.
For me, D&D from this time period is about exploration, open-ended location-based adventuring, and creating a framework for players to creatively solve problems.
Tomb of Horrors, by contrast, is a logic puzzle disguised as a D&D adventure.
The module goes out of its way to insist that it’s for high-level adventurers and then works really hard to make powerful adventurers feel useless, usually through arbitrary room-by-room rulings that prevent certain spells, items, or actions.
If you came to this adventure for the aesthetics and overall concept (which, let’s be real, are fantastic) but don’t want to run a torturous “gotcha” dungeon/immersive riddle, we’re going to be sharing our ideas for how to make Tomb of Horrors a bit more playable later on in this article.
However, if you want to dip your toes into this very, very specific kind of methodical, adversarial problem solving and tangle with the game’s deadliest, most maddening dungeon (and, importantly, you think your players might be into is as well), here’s what you’re going to find…
Inside the Tomb of Horrors
For this section, I’m going to be recapping the contents of the original module S1 Tomb of Horrors, along with a brief description of what each of the 33 keyed dungeon locations contains.

Intro and The Legend of the Tomb
Basically a warning to players not to go looking for the tomb, stating that only the largest parties composed of the most powerful, well-prepared heroes will be able to survive it.
The legend specifically warns of “terrible traps, poison gasses, and magical protections” and concludes that if adventurers do locate the tomb, they “should be prepared to fail.”
I think a lot of people read this and disregard it as the standard “abandon hope all ye who blah blah blah” flavor text that accompanies a lot of books and adventures with their toes in the horror genre.
But, in reality, it’s a face-value warning about the fact this module isn’t for everyone. It’s certainly not for the faint of heart.
Gygax reiterates this in the following section containing Notes for the Dungeon Master:
“THIS IS A THINKING PERSON’S MODULE. AND IF YOUR GROUP IS A HACK AND SLAY GATHERING, THEY WILL BE UNHAPPY!”
After this, the module gives some suggestions for where to locate the tomb in your game world as well as in Greyhaw, Gygax’s own setting.
Outside the Tomb
The adventure further sets out its tonal manifesto with the process of actually finding any of the possible entrances to the Tomb itself.
Armed with spears or 10-foot poles, player characters are expected to spend hours prodding at the loose sandy hillside to expose the tunnels.
1. False Entrance Tunnel
A corridor of plain stone with a pair of false doors at the far end. The roof is covered in spiderwebs that, unless they’re burned away, conceal the fact that the ceiling is on the verge of collapse.
Walk down this corridor, open the false doors, and the rocks fall, dealing 5d10 damage.
2. False Entrance Tunnel
A second false corridor, this time equipped with a sliding block trap that seals any unwary adventurers inside the hall, possibly forever.
3. Entrance to the Tomb of Horrors
Finally, the true tomb. A brightly painted tunnel covered in murals of pigmen, ape-human hybrids, and dog people (among other such strangeness) leads away into the darkness.
The floor is covered in a colorful tile mosaic with a bright-red trail of tiles winding its way along the passage.
This has absolutely no correlation to the several poisoned (aka instant death) pit traps scattered along the hallway. However, with enough study, runes in the red tiles spell out a cryptic poem from Acererak:
“ACERERAK CONGRATULATES YOU ON YOUR POWERS OF OBSERVATION. SO MAKE OF THIS WHATEVER YOU WISH, FOR YOU WILL BE MINE IN THE END NO MATTER WHAT!
Go back to the tormentor or through the arch,
and the second great hall you’ll discover.
Shun green if you can, but night’s good color
is for those of great valor.
If shades of red stand for blood the wise
will not need sacrifice aught but a loop of
magical metal – you’re well along your march.
Two pits along the way will be found to lead
to a fortuitous fall, so check the wall.
These keys and those are most important of all,
and beware of trembling hands and what will maul.
If you find the false you find the true
and into the columned hall you’ll come,
and there the throne that’s key and keyed.
The iron men of visage grim do more than
meets the viewer’s eye.
You’ve left and left and found my Tomb
and now your soul will die.”
Ostensibly, the poem gives the adventurers clues about the trials that lie ahead, but they’re so vague and figurative that they don’t end up providing much additional clarity until after the relevant section of the tomb has been solved.
4. Fresco of the Wizardly Workroom
A mural of two jackal-headed figures, holding forth an actual chest from the wall.
The chest has an obvious poison needle trap and contains a lever that when pulled, opens an otherwise undetectable magical pit trap full of poisoned spikes under the adventurer’s feet.
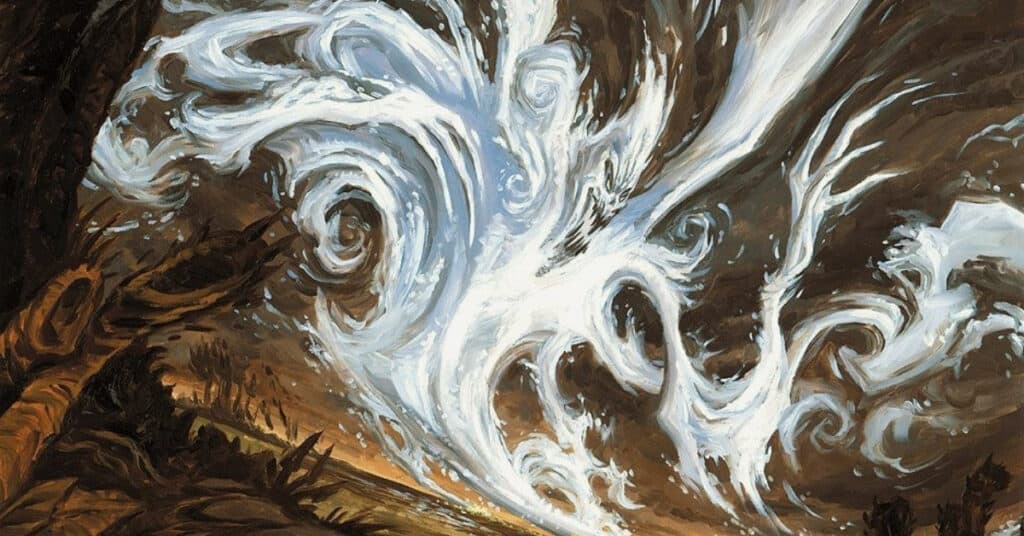
5. The Arch of Mist
One section of the red tile path on the floor leads through a doorway filled with swirling magical mist. Approaching the archway causes colored stones in the doorframe to glow different colors.
Depending on whether the adventurers touch the colored stones in the right order and whether they’re standing on the red path when they move through the arch, they’re either teleported back out of the dungeon or to the Forsaken Prison or the room containing The Three Armed Statue.
6. The Face of the Great Green Devil
A large green demonic face with a gaping mouth filled with utter darkness. The mouth contains a sphere of annihilation, and anything that is placed within it (say, a PC’s hand) is destroyed.
The mouth is “about 3′ in diameter – plenty of room for those who wish to leap in and be completely and forever destroyed.”
7. The Forsaken Prison
A largely featureless prison room wit three iron levers that either send you round in circles or drop you through a pit.
8. Gargoyle Lair
A mutant four-armed gargoyle waits here in temporal stasis. It’s one of the dungeon’s few combat encounters, and it is nasty.
The monster attacks six times per round, which is pretty crazy for 5e, and was basically unheard of in 1975. The gargoyle is wearing a necklace of huge, gleaming gems.
9. Complex of Secret Doors
A hall full of secret doors that unavoidably zap you when you don’t open them properly.
10. Great Hall of Spheres
A room covered in murals depicting different creatures holding multicolored spheres. Some of the spheres (black and silver) are illusory and lead to tiny crawl spaces.
There is also a magical archway with magical mist glowing stones like the one in Area 5.
However, no matter what, any living thing that passes through the arch is teleported back to the entrance, and all inorganic matter (aka all of a character’s weapons, armor, and magic items) is teleported away to Acererak’s Crypt (33).
This is the point where I decided I had no desire to run or play this module, ever.
11. The Three Armed Statue
An 8’ statue of the gargoyle with a broken 4th arm. Placing large gems (like the ones around the gargoyle’s neck in Area 8) will cause the statue to crush them to powder.
Repeating the process until 10 gems have been crushed causes an invisible gem of seeing to appear in the broken arm’s hand.
12. Trapped False Door
Fake door that repeatedly shoots spears at anyone who tries to open it.
13. Chamber of Three Chests
A small treasure chamber at the end of the crawlspace from the Sphere room. Contains three chests (gold, silver, and wood).
Two contain monsters, all three are trapped, and only the silver one has any actual treasure.
14. Chapel of Evil
Passing through the black sphere in Area 10 brings players to an undetectable secret door (unless you have the gem of seeing from Area 11), behind which is a decidedly creepy temple.
In addition to a bunch of pews containing treasure and gas traps, the room contains a blue altar that shoots you with lightning and then explodes if you touch it and another archway that reverses your character’s sex and alignment (kinda iffy stuff, Gary).
15. Stone Gate:
A coin-operated door with a pit behind it.
16. Locked Oaken Door
Magically resistant to most spells (super-good game design, guys) but can be chopped up with an axe.
Beyond it is a corridor that’s effectively on a seesaw. Walking too far along it will tip the party forward into an inescapable pit of flames.
17. Magical Secret Door
A magic door that needs a gem of seeing to reveal.
18. False Crypt Protected by Fear Gas
If they make it through without succumbing to the fear gas, players must burn away “magically protected spider webs” to find a magic silver mace.
Beyond, lying on a solid gold couch (probably one of the most valuable pieces of treasure in the tomb, which is hilarious) is a false lich — actually a zombie wearing a crown.
If the party defeats this zombie and leaves (which they’re encouraged to do by an illusory cave-in that suggests the whole tomb is collapsing), the DM is instructed to lie and say they defeated the tomb, then laugh smugly to themselves about what a clever little boy they are.
Stupid, stupid adventure.
19. Laboratory and Mummy Preparation Room
Several vats, one of which contains acid and part of a key.
This is actually some open-ended puzzle design that I like.
20. Huge Pit Filled With 200 Spikes
A massive, open pit that completely fills the passageway. Climbing down into the pit causes the spikes to be fired up into the characters.
Damn. I like this too. It’s an obvious trap without an obvious solution. Is this dungeon… getting good? Also, “Huge Pit Filled With 200 Spikes” is the name of my next dungeon synth album.
21. The Agitated Chamber
A room full of crappy furniture, a few boxes full of snakes, and curtains that are actually super-deadly green slimes.
22. The Cavern of Gold and Silver Mists
This room contains a (“beautiful and good aligned”) siren who is kept prisoner here by Acererak as “a private joke.”
The mists are beautiful, and stepping into them causes a character to become an idiot until they leave the tomb. The touch of the siren, should she become angered, is the same.
23. False/True Door
A door that looks much like all the other false doors in the dungeon up until this point but it hides a real door behind the “false” wall of stone.
If characters find their way through here, they enter a hallway with doors that emit sleeping gas. Anyone who passes out in these halls will likely be crushed to death by a giant stone steamroller.
24. Adamantite Door
A one-way door that’s only opened by stabbing it with three swords.
25. The Pillared Throne Room
A room completely filled with massive stone columns and a ceiling covered with spikes. Touching a pillar causes a character to become weightless.
In this room are also two large devil-face mosaics, charred human remains, an ebony dais, and a silver throne, upon which rest a crown and scepter that do predictably nasty stuff to anyone who messes around with them.
26. Small Room With a Door of Electric Blue
The scattered parts of a mummy and a gem that, if taken, cause the mummy to come to life.
Even the monsters in this tomb are actually traps.
27. The Portal of Scintillating Violet
A room containing some animated swords and 80% of the flowery descriptive language in the whole adventure in a single sentence:
“When the door is touched a faint lilac color which glowed faintly from a distance will shine forth a bright and coruscating purple with tinges of sickly green.”
How lovely.
28. The Wondrous Foyer
A generally glittering and shiny room with a key and a curse trap that prevents people from ever letting themselves touch the key.
29. The Valves of Mithril
Several large, mithril doors “impregnated with great magicks,” predictably to make them immune to all magical attempts to get through them (why a wizard would ever bring Knock with them into this dungeon is beyond me), which look as though they can be opened with two of the keys from previous rooms but actually need the super-dangerous cursed scepter from Area 25.
I changed my mind. “The Valves of Mithril” is the name of my next dungeon synth album.
30. The False Treasure Room
A shiny, silver-plated room with four black iron statues with threatening auras.
No spells function within this room, and it is filled with fake treasure (and a random broken skull the players are supposed to assume is Acererak’s).
31. Phase Door
Magical one-way doors.
32. Secret Door
Finally, a door accessed by one of the magical keys (the gold one from Area 19).
Somewhat naively, the text declares that “there can be no real doubt that the end of the adventure — one way or another — is near,” as if the adventure hasn’t spent at least three different rooms sowing doubt about that very fact.
33. The Crypt of Acererak the Demilich
A completely empty room. After the second key is placed in a tiny hole in the wall and turned an arbitrary number of times, a bit of the floor shifts (potentially squashing a few more heroes) and reveals the mithral vault of Acererak the demilich.
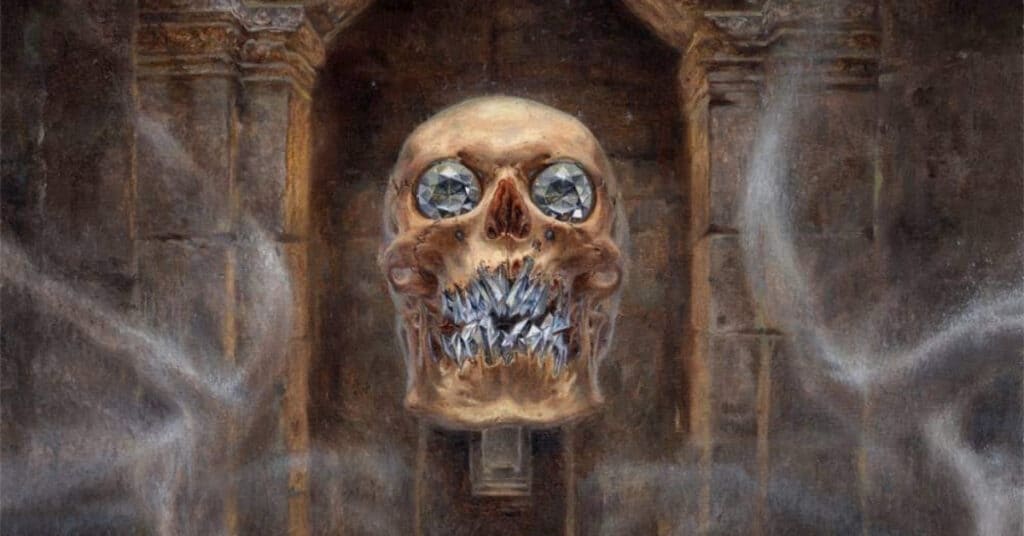
Inside are several hundred thousand gold pieces worth of gems, magic items, poisons, and scrolls… and Acererak the demilich in the (not exactly) flesh.
While I don’t think the players are meant to actually fight Acererak, it’s a shame, because a floating skull with gems for eyes and teeth is just about the coolest thing in this adventure.
As it is, Acererak magically steals the souls of adventurers (most powerful to least) and traps them in his eye gems while their bodies disintegrate.
Whether the players defeat Acererak or not, this “ends the expedition to The Tomb of Horrors. We hope you and your players will have found it exciting, challenging, and rewarding.”
Tips for Running The Tomb Of Horrors
Tip One: Dont.
Okay, fine. If you want to run this “classic module,” here are a few ways I think you could make it easier, more enjoyable for you and your players, and feel less like you, the DM, are running an adventure in bad faith that’s specifically intended to frustrate your players at every turn.
Be Upfront About It
If you present this adventure as just another dungeon to explore or a fun romp through some 80s nostalgia, you and your players are going to have a bad time.
If your players are the kind of people who enjoy logic puzzles, frustration, and all the other idiosyncrasies of this dungeon, that’s great, but you still need to be really up front about it.
The dungeon is already going to trick the players, deal in bad faith, and generally try to be a dick.
If you don’t forewarn your players and make it clear that you’re not the one trying to do this stuff to them, you’re complicit in the dungeon’s crimes.
Obvious Traps, No Obvious Solutions
This is a bit of advice I steal from Ben Milton and Chris McDowall all the time: make your traps obvious.
There are a bunch of traps and puzzles in Tomb of Horrors that can only be investigated by poking them, which usually punishes the player’s curiosity by killing them, teleporting them back to the entrance completely naked, or swapping their sex (something I would remove altogether).
If you’re going to run the tomb, I would find ways to put the whole dungeon more in line with the Huge Pit Filled With 200 Spikes in area 20.
It’s obviously a trap, and the danger is largely explicit. It’s the solution that isn’t obvious.
To make this dungeon less of a “gotcha” fest, I would try to signpost at least the existence of every trap to the players so that figuring out how to trigger or bypass it is more like an environmental hazard than playing Russian roulette.
For example, change it so that one of the pit traps in the main entrance hallway has already been triggered. The party now knows there are traps here. Finding out where they are and how to get past them is the hard part.
Spare Parts
Lastly, I would advise that you don’t run the Tomb of Horrors. Instead, make your own dungeon, and steal a few traps from this one to populate it.
There are a lot of great puzzles and hazards in this dungeon (like the anti-gravity pillar room and the seesaw corridor), but the sheer concentration of them wears upon the human soul.
So, folks, that’s our guide to one of D&D’s most inexplicably “classic” modules.
Whether you want to delve beneath that lost and lonely hill or run screaming in the other direction at the very mention of the Tomb of Horrors, until next time, happy adventuring.
- About the Author
- Latest Posts

I played my first tabletop RPG (Pathfinder 1e, specifically) in college. I rocked up late to the first session with an unread rulebook and a human bard called Nick Jugger. It was a rocky start but I had a blast and now, the better part of a decade later, I play, write, and write about tabletop RPGs (mostly 5e, but also PBtA, Forged in the Dark and OSR) games for a living, which is wild.